Clear focus
Show only what matters and avoid visual noise.
With Freeshot, you mark issues precisely and reduce follow-up questions across QA, support, and engineering.
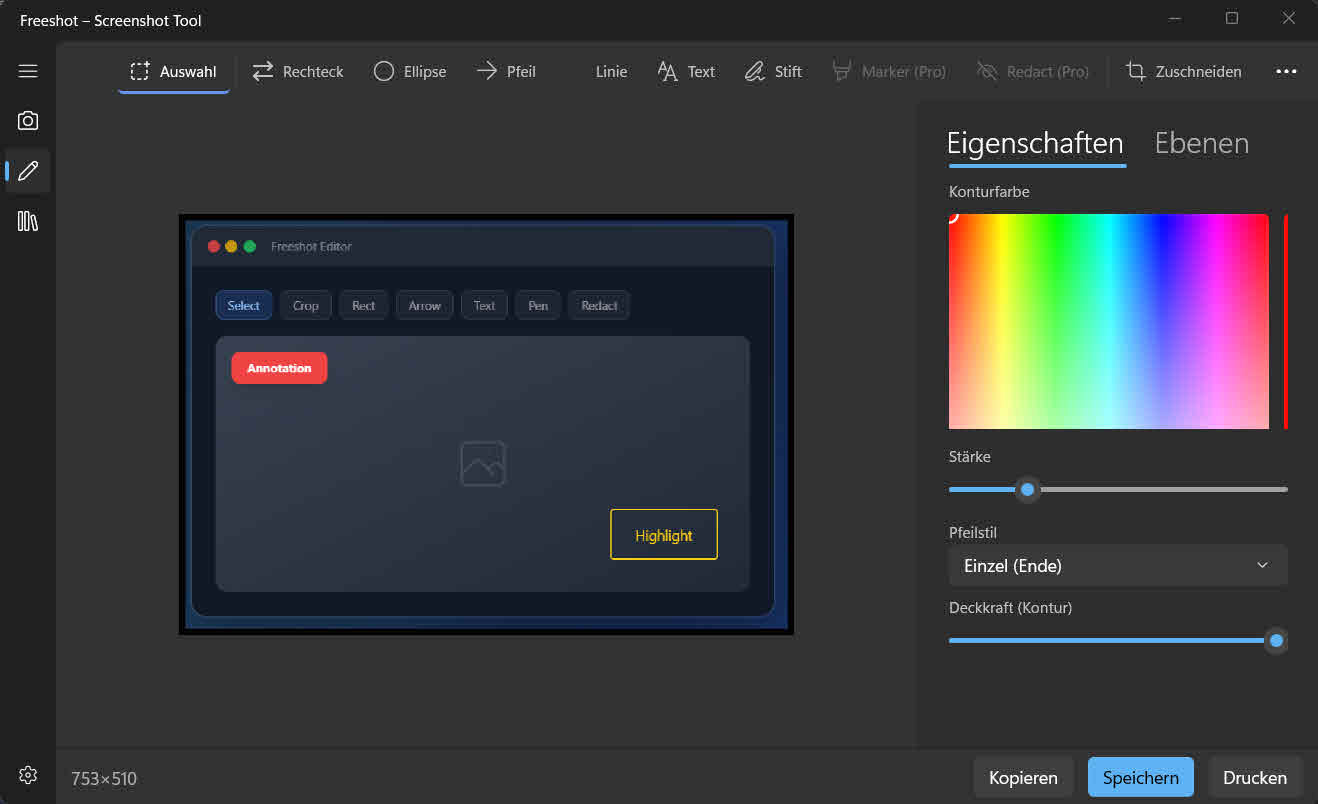
Show only what matters and avoid visual noise.
Arrows and labels make cause and effect easy to understand immediately.
Standardized screenshots speed up triage and fixing.
A strong bug report reduces uncertainty. The clearer an issue is documented, the faster teams can reproduce, prioritize, and fix it. Text alone often misses important context. Precisely annotated screenshots make cause and effect visible at a glance.
With Freeshot, relevant areas are marked right after capture. Arrows, text, and highlights are added in the same flow, so no extra image editor is needed. This speeds up ticket creation while improving ticket quality.
For QA and support, this means fewer follow-up questions like “Where exactly is the bug?” or “Which step do you mean?”. For engineers, it means clearer input and less context switching. Across many tickets, overall team speed increases.
Mark the affected area, add a short note, and include the previous or next workflow step when relevant.
For complex interfaces, ambiguous error states, and flows with multiple UI elements. Annotations reduce ambiguity.
Yes, screenshots can be reopened from the library and adjusted when new findings appear.